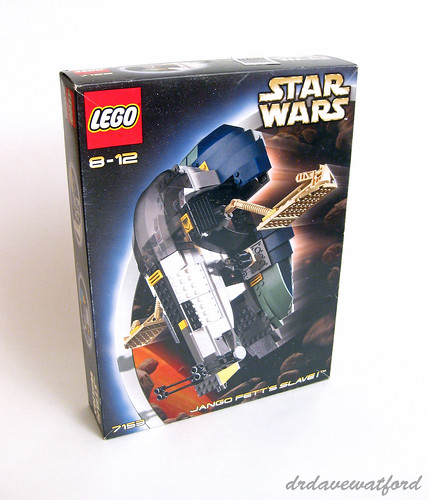
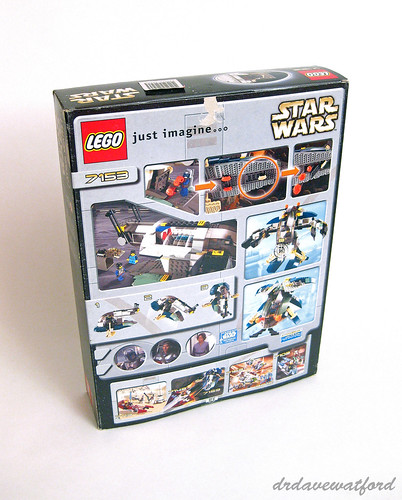
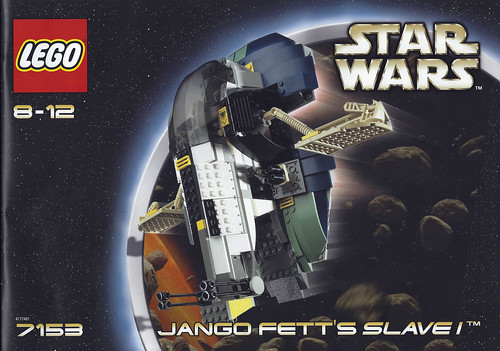
The rather cramped box art (above) features the LEGO Slave 1 model emerging from what looks like an asteroid field; I assume that this is a nod to the dogfight between Jango's Slave 1 and Obi Wan's Jedi Starfighter over Geonosis which featured in Star Wars Episode II: Attack of the Clones. The front of the box bears the LEGO Star Wars logo in use at the time plus an 8-12 age recommendation, the set number and the set name in a stylistically-consistent font. The back of the box (below - click to enlarge) features multiple panels. Some of these panels highlight play features of the set, while others showcase a couple of rather eccentric alternate builds, advertising for a number of 2002 LEGO Star Wars offerings, and movie stills of Jango Fett and a youthful Boba Fett.
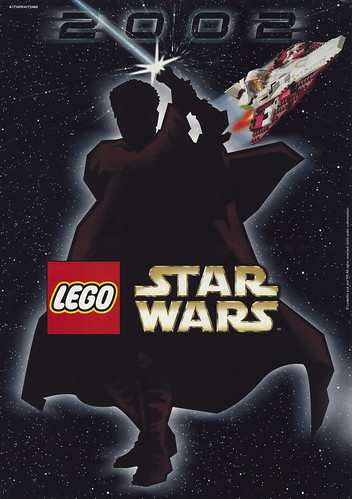
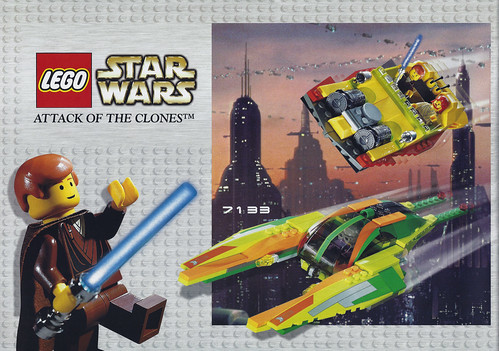
Opening one of the end flaps reveals a sturdy brown cardboard inner box which encloses the contents of the set and slides out. My copy of the set came with an approximately A4-sized double-sided advertising leaflet, a single instruction booklet and six bags containing LEGO elements. Five of the bags are opaque and numbered from 1 to 5, while the remaining bag is smaller, transparent and not numbered. You can see the business side of the advertising leaflet below, featuring a silhouette of Obi Wan Kenobi wielding his light saber while a LEGO version of his Jedi Starfighter streaks across the corner of the page. I've also found this flyer in a couple of other larger 2002 Star Wars sets, although it wasn't in the smaller 2002 sets that I checked while writing this review.
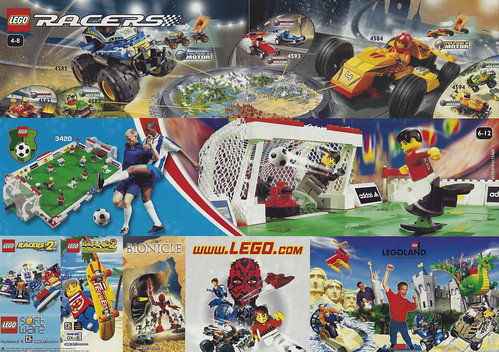
The flip-side of the advertising leaflet (below - click to enlarge) is rather less impressive, featuring a decidedly lacklustre selection of 2002 products from other themes such as Racers, Sports and Bionicle as well as panels advertising a couple of Playstation 2 LEGO tie-ins and LEGOLAND. If that's really the best that the company could offer in 2002 in terms of other themes and products then it's really no wonder that the business was in the doldrums around that time.
Moving swiftly on, you can see the front cover of the single instruction booklet below. Like the advertising flyer it's approximately A4 size, and contains a total of 52 pages including the front and back covers. The cover art is identical to that found on the front of the box, although the landscape orientation of the instruction booklet suits the image better, making it look much less cramped
A total of 46 pages are occupied by building instructions. Advertising for a selection of 2002 LEGO Star Wars sets occupies a further four pages of the booklet and you can see one of the ads below (click to enlarge). I always get a nostalgia kick out of looking at advertising materials for long-retired sets, and if you do too then you can find the rest of the ads from the booklet here.
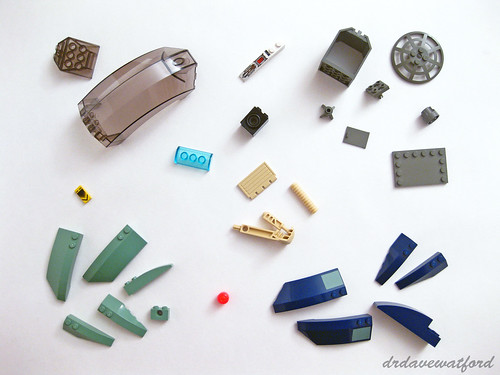
There are a quite a few hard-to-find elements in this set and you can see a selection of them in the picture below (click to enlarge). A total of ten elements are exclusive to the set, including the dark blue 8 x 2 x 2 curved slope and printed left and right 8 x 3 x 2 open wedges; it's interesting that we get printed elements in this 2002 System set but have to make do with stickered body panels in the UCS Slave 1 set. Other exclusive elements include the dark grey round 1 x 1 brick with fins and modified 4 x 6 tile with studs on the edges, the sand green 6 x 1 curved slopes and left and right 6 x 2 wedges, the white 6 x 1 curved slope with control panel print, and the yellow printed 1 x 2 tile with chevron print. Marginally less rare are the 2 x 3 x 2 dark grey cupboard door, the left and right 8 x 3 x 2 sand green open wedges and the ribbed tan hose which have only ever appeared in this set and one other, while the dark grey 4 x 4 x 4 container, webbed 6 x 6 dish, modified 2 x 2 plate with pin and Technic driving ring extension in the top right of the picture plus the tan Bionicle foot wedge have only ever appeared in 3 sets. All elements in the picture, including the big trans-black curved windscreen, have appeared in 5 sets or less.
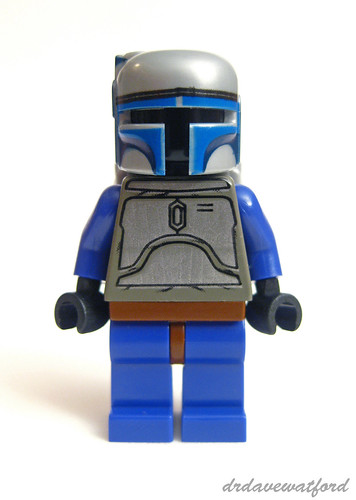
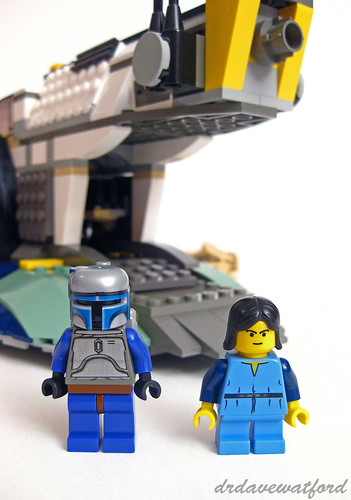
The set contains just two minifigures. Jango Fett is exclusive to this set, which is reflected in his high aftermarket value. The somewhat crude torso print is highly reminiscent of that sported by various versions of Boba Fett up until around 2009, albeit it's silver printed on a dark grey torso rather than green printed on light grey. It's the same story with his helmet, which appears to be a recoloured version of that worn by pre-2010 versions of Boba Fett. Although his legs are entirely generic in design, they're nevertheless exclusive to this minifigure by virtue of their unusual brown and violet colour combination.
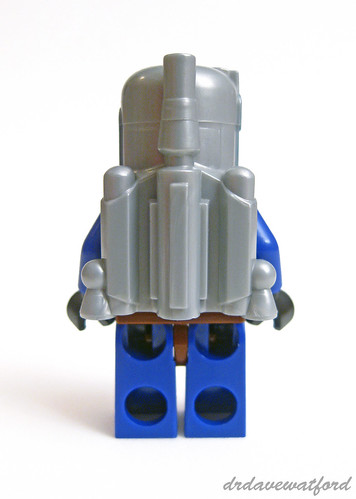
You can see Jango from behind in the picture below. His torso doesn't feature any back-printing, but that's not of any consequence here since his pearl light grey rocket pack dominates the view and completely obscures the back of the torso. The rocket pack is moulded in one piece along with the helmet and again looks identical to that sported by pre-2010 versions of Boba Fett apart from the colour.
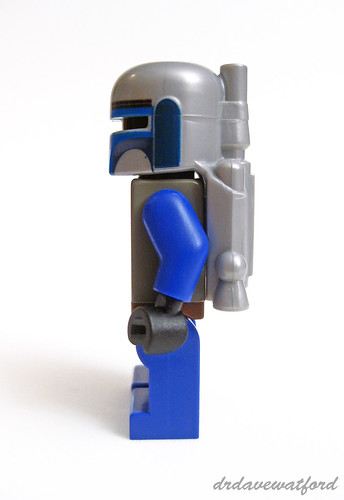
You can get a better look at the one-piece helmet and rocket pack via the side view below, plus an alternative view of the helmet print. I was somewhat surprised to discover that this is the only LEGO minifigure which has violet arms. Unlike the celebrated Cloud City version of Boba Fett there's unfortunately no printing on the arms, or indeed on the legs.
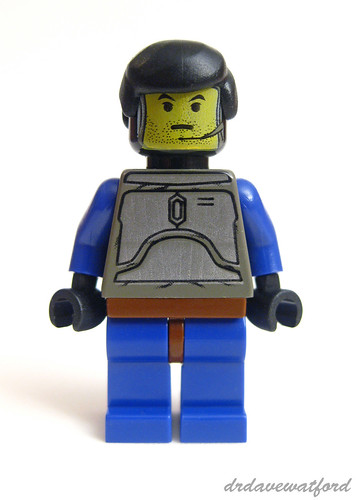
Jango's helmet can be removed to reveal his face (picture below) which is created by way of a yellow face print on a black minifigure head. This printed head is unique to the Jango Fett minifigure. I've always felt that the face print gives him a slightly creepy, ghostly appearance, and I seldom remove his helmet. The hair is provided as part of the set.
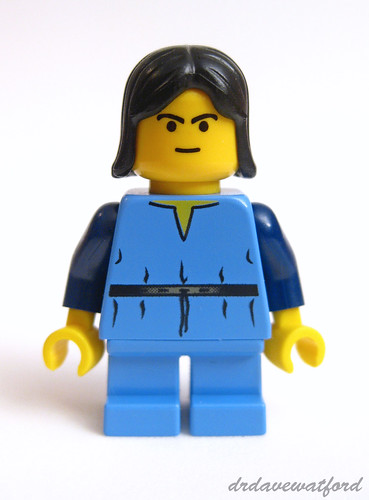
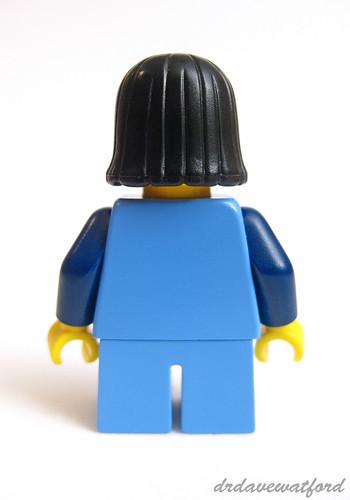
The other minifigure is a youthful Boba Fett. Once again this minifigure is unique to the set. While his hair and unprinted short medium blue legs have appeared in other minifigures, the printed medium blue torso and perhaps more surprisingly the head with "Straight Small Smile and Black Curved Eyebrows Pattern" are both exclusive to this minifigure.
As you can see from the picture below, there's no back-printing on the torso. While the back of Boba's head is obscured by his bob hairstyle, I can confirm that there's no alternate expression printed on there.
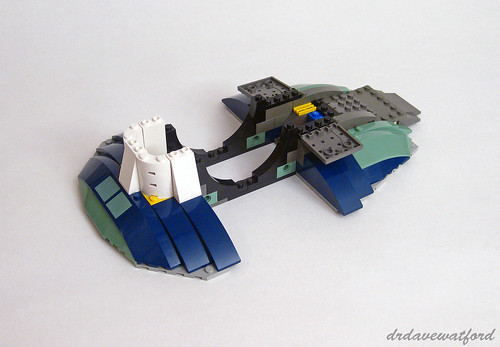
And so on to the Slave 1 build. Maybe I'm going soft in my old age but for the first time that I could remember I was caught out by the lack of part call-outs in the instructions - on a couple of occasions I moved on to the next step of the build having failed to finish the previous step. Anyway, my recent daliance with the UCS Slave 1 meant that I had a distinct sense of deja vu as I embarked upon this build. First to be constructed is the base of the ship and the cargo loading area. Despite the 13 year difference in release dates between Jango Fett's Slave 1 and the recent UCS version the older ship employs a number of the same building techniques as its UCS cousin, notably extensive use of wedges and curve bricks of various types to recreate the distinctive shape of the base. The cargo loading ramp hides a secret compartment containing 3 unprinted trans-neon orange minifig heads which I assume are supposed to be seismic charges or bombs of some description. These can be ejected from the underside of the ship as we'll see later.
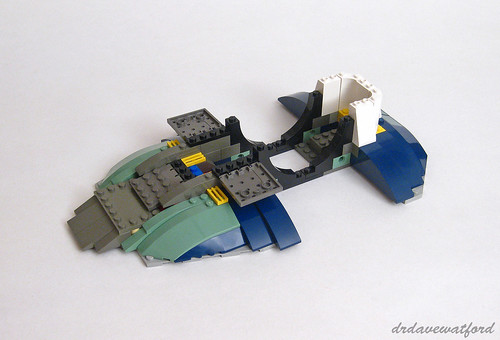
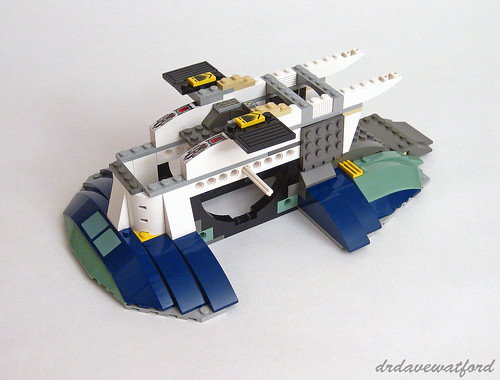
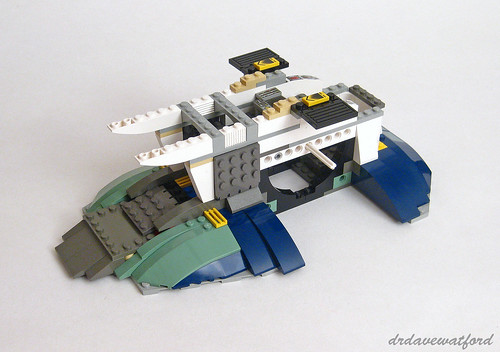
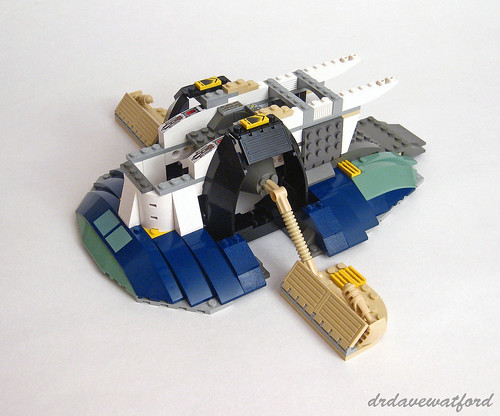
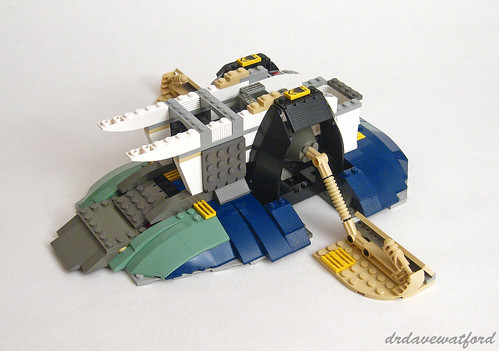
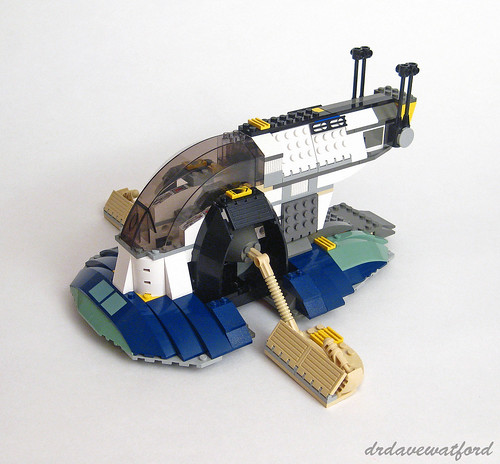
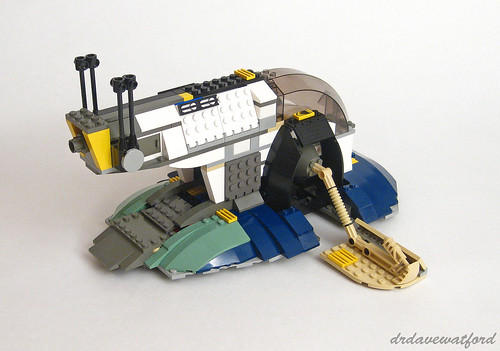
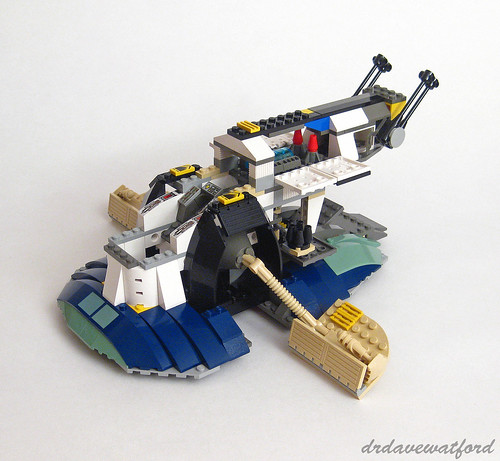
With the base of the ship completed the next job is to assemble the simple gravity-driven mechanism which keeps the cockpit area and wings horizontal regardless of whether the ship is docked on its base or upright in flight. The white Technic axles you can see emerging from either side of the ship in the pictures below (click to enlarge) are part of this mechanism and provide the attachment point for the wings. The dark grey hinged plates flush with the hull on either side of the ship open to reveal a pair of compartments each of which contains a retractable missile launcher that you'll see in a later picture. The sides of the hull are gradually built up during this stage of the build, and a rudimentary cockpit is constructed featuring a number of printed elements.
The next step is to construct the wings and attach them to the protruding Technic axles as illustrated in the pictures below (click to enlarge). On each side of the ship the point where the wing attaches is enclosed by a large black cowl bolted on to the hull. The wings make ingenious use of the tan Bionicle foot wedges that I mentioned earlier on in my round up of parts of interest.
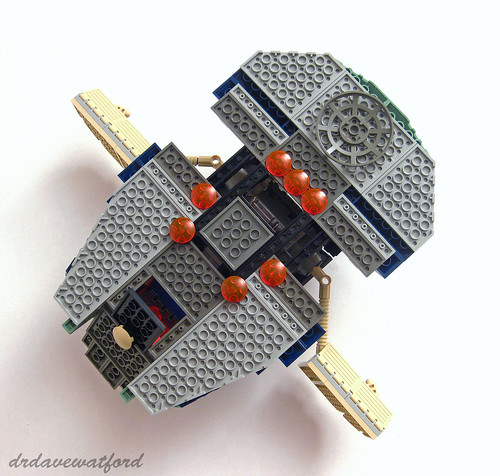
Things are also going on underneath the ship during this stage of the build. Most notably, what appears to be an escape pod is quickly assembled and slides into a slot in the underside of the ship where it's held in place by a magnet. The underside of the escape pod looks similar to a dark grey 4 x 4 plate and can be seen in the picture below surrounded by seven trans-neon orange boat studs. The magnet is strong enough to hold the escape pod securely in position, but not so strong as to make removal difficult. Earlier on I mentioned a secret compartment beneath the cargo loading ramp containing what are presumably supposed to be seismic charges or similar; you can see towards the bottom left of the picture how the underside of the ship opens up to allow these to be dropped.
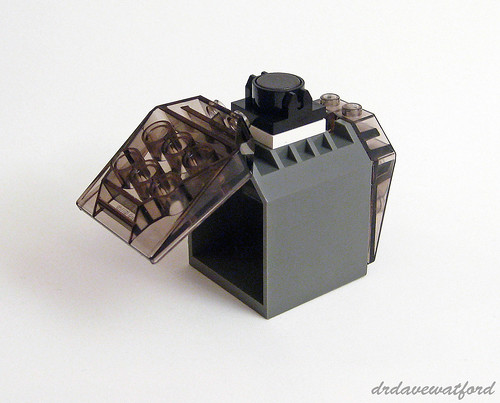
You can see a close-up of the escape pod below. A few of the elements highlighted earlier in my description of parts of interest are used in its construction, notably the dark grey 4 x 4 x 4 container and a couple of 1 x 4 x 3 2/3 trans-black hinge panels. There's a magnet in a holder attached to the top of the escape pod; this as previously described holds the pod inside the body of the ship, and also allows it to be easily removed if desired.
We're on the home straight now. The canopy is attached at this stage, after which the rear section of the body is assembled and bolted on, and then we're done (pictures below - click to enlarge). All told it's a pretty quick and straightforward build, and I reckon the finished result is a pretty good likeness at this scale; OK, so the canopy seems a bit too large and some of the angles and curves aren't quite right, but all things considered it's a decent effort. While I think it's fair to say that many of the older LEGO Star Wars sets really haven't aged that well, this one has definitely stood the test of time better than most in my opinion.
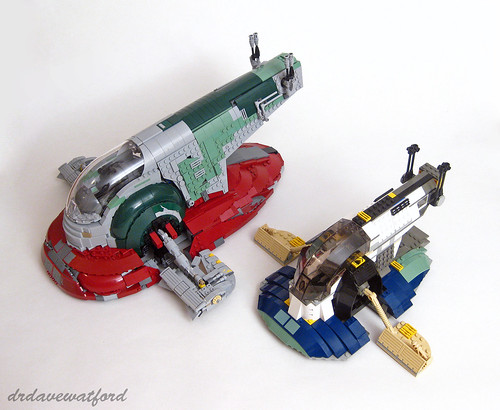
I figured that some readers might be curious to see how Jango Fett's Slave 1 compares with the recently released Ultimate Collectors Series version of Slave 1 so I photographed them together as you can see below (click to enlarge). There's no doubt that we've been spoiled by the spectacular UCS version which I think improves upon the older System scale versions in many ways. The canopy's the right size, for a start, and I think it nails the various curves and angles far better as you'd probably expect at this scale. That having been said, Jango Fett's Slave 1 scores points for having printed parts rather than stickers, not to mention the ability to automatically keep its cockpit and wings horizontal. Size-wise the UCS version is about 50% bigger and it contains around three times the number of pieces.
Set 7153 Jango Fett's Slave 1 contains 360 pieces and two exclusive minifigures and was released in 2002 at a retail price of £44.99/US$50. A complete, boxed example will cost you nearly twice that now on Bricklink, although you may find one cheaper on eBay if you keep your eyes peeled. It's still worth picking up in my opinion, if you can stomach the cost.

I picked this up at KB-Toys during their liquidation sales. It was hard earned paper delivery money that was well spent. Do you know about the altered instructions with additional parts from Shop at Home?
ReplyDeleteThe alteration shored up the construction from flimsy to sturdy without obviously affecting the outside of the model visually. Some parts with potential for damage were doubled.
I hadn't heard that before. The model seems pretty sturdy to me, so I wonder what the problem was?
Delete