As well as enjoying Minecraft the game, B has built some of the Minecraft LEGO sets including a couple of the original Microscale offerings as well as a selection of the more recent minifigure sets such as The Mine and The First Night. I therefore thought it'd be interesting to involve him in a review of one of the new summer wave of Minecraft sets. His job would be to build the set and simultaneously provide me with a stream-of-consciousness commentary, while I would be relegated to the role of parts monkey as well as adding my own thoughts about the set into the mix and trying to pull everything together into a coherent Gimme LEGO posting. Read on to discover if I succeeded....
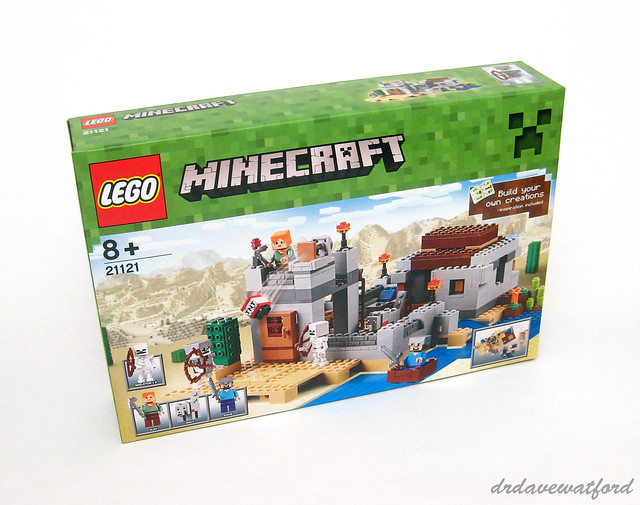
We reviewed Set 21121 The Desert Outpost, kindly provided to us ahead of its general release by LEGO's Community Events and Engagement (CEE) Team. First off I sat junior down, put the box in front of him and asked him for his thoughts. It was interesting that he immediately zeroed in on the minifigures, particularly Alex, who I have to admit I'd never heard of, and the wolf. He didn't think that either of these characters had previously appeared in any of the Minecraft sets, and he couldn't wait to get his hands on them. He was also excited to discover that the set contained two skeletons, both of which had bows, and one of which was wearing armour. It was only after he'd closely examined the minifigures that his attention eventually switched to the Desert Outpost building itself, which he said looked like it was made out of cobblestone and dirt and reminded him of First Night with an extension.
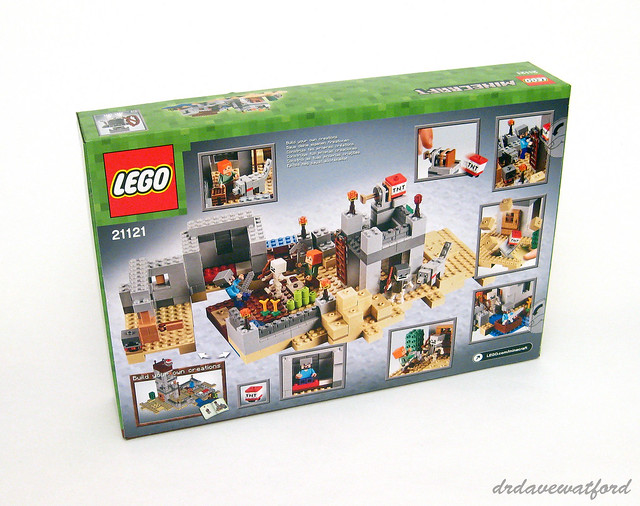
Both the front and back of the box carry the "Build your own creations" mantra which is I assume a reference to the fact that you can substantially reconfigure the Desert Outpost building by design as we'll see later. Consistent with this, the back of the box shows a reconfigured version of the Desert Outpost as well as showcasing a number of notable play features. It was the latter that caught B's eye, particularly "the launcher that fires TNT" and "the exploding area where the TNT lands". Oh, and for some reason the fact that Minecraft hero Steve is holding a cookie in one of the pictures was also a cause of much amusement.
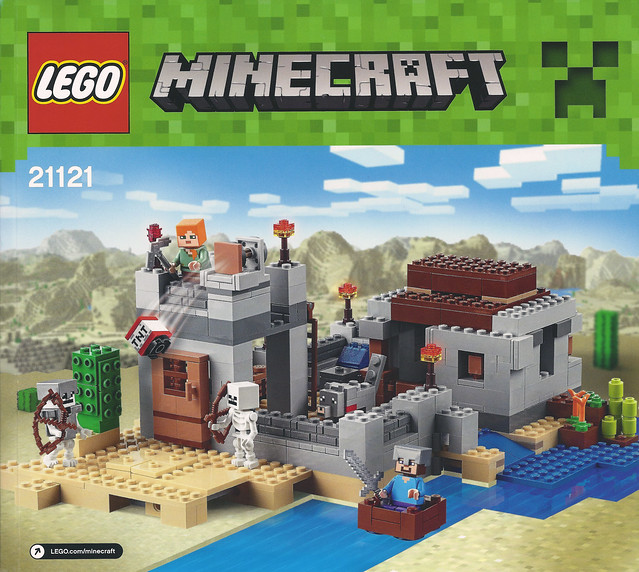
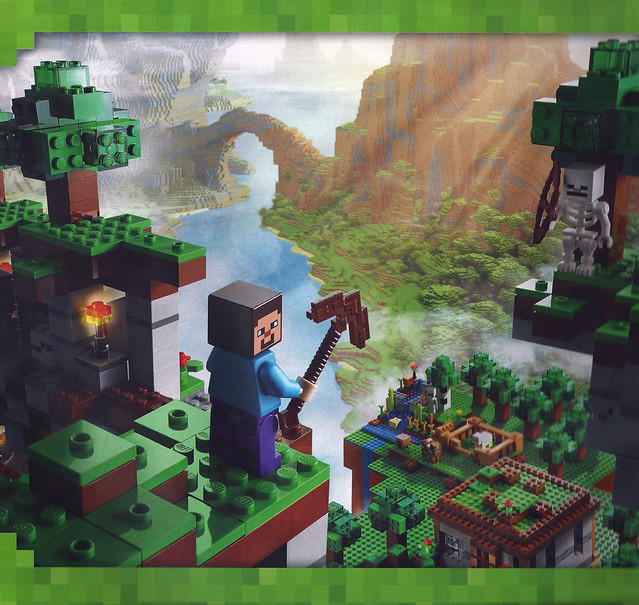
The box contains three numbered bags of elements, an un-numbered bag containing large tan plates and a single instruction booklet (front cover above). There's no sticker sheet. B's trawl through the 108-page instruction booklet stopped abruptly when he got to an advertisement for LEGO's Minecraft microsite as it featured a Snow Golem, and he was also drawn to a two-page spread showing all the Minecraft minifigure sets.
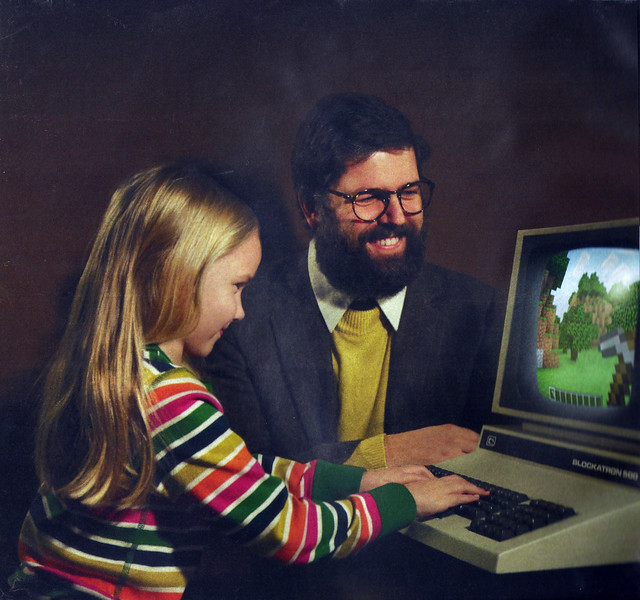
In addition to the obligatory building guide for the Desert Outpost model the instruction booklet contains some interesting additional content. Notably, there are 16 pages of supplementary instructions, of which more later. The booklet also contains a number of other adverts and a two-page inventory of parts. My eye was caught by a somewhat bizarre two-page Mojang advert, one half of which (below) features what looks like a 1970s photograph of a bearded man watching on while a little girl plays with a Commodore PET or similarly ancient personal computer; a Minecraft scene is superimposed on the computer screen to make it seem like the kid is playing Minecraft. It's all a bit surreal....
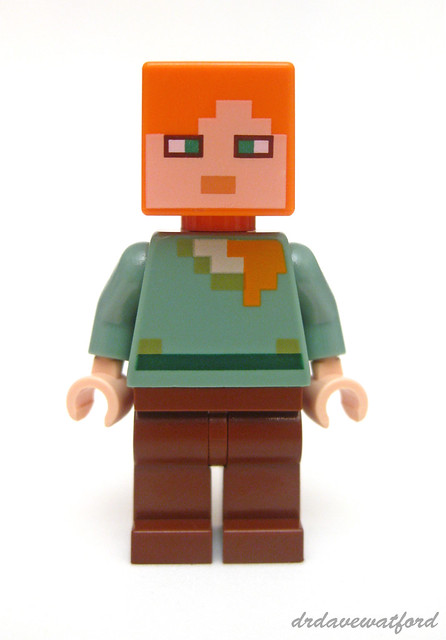
As previously mentioned, B couldn't wait to get hold of the minifigures, with Alex (below) taking star billing. He was right that Alex hasn't previously featured in a LEGO Minecraft set. An alternative version of Alex featuring what looks like the same orange head and sand green torso but sporting a diamond helmet and a diamond sword appears in another of the 2015 summer Minecraft releases, Set 21122 The Nether Fortress. Neither the head nor the torso are back-printed. Alex comes complete with an iron pickaxe.
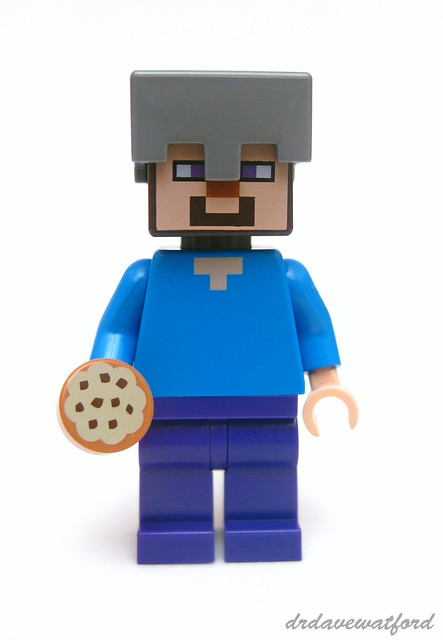
Next up is Minecraft stalwart Steve. With his minimally printed dark azure torso and dark purple legs, this seems to be the same version of the Steve minifigure that appears in the first wave of Minecraft minifigure sets, although I don't recall him being provided with a cookie before; B didn't think that the cookie had any special significance, concluding that Steve must just be hungry.... In this set Steve gets an iron sword and an iron helmet in addition to his cookie but he isn't provided with armour to protect his torso. Like Alex, neither his head nor torso are back-printed.
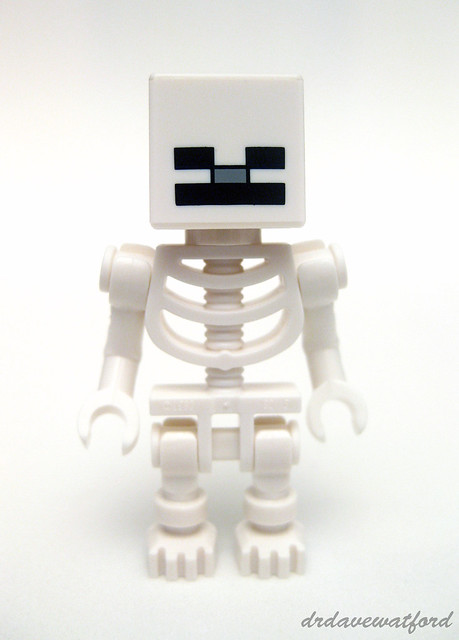
The skeletons appear to be the same as those which appeared in the first wave of Minecraft minifigure sets. Each of them is provided with a wooden bow.
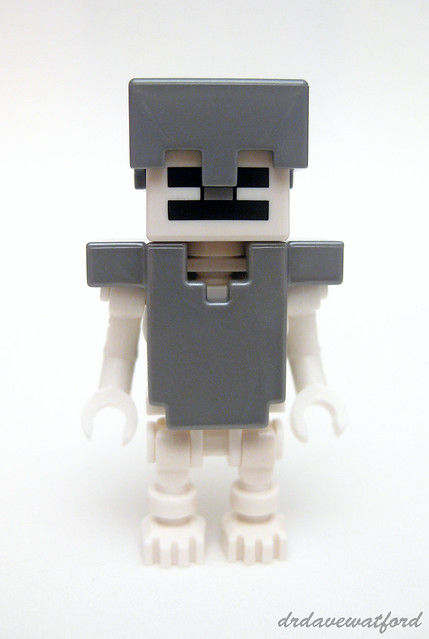
One of the skeletons sports an iron helmet and iron body armour. B wanted me to point out that in Minecraft skeletons are destroyed by sunlight, but wearing a helmet protects them and hence its significance. So now you know....
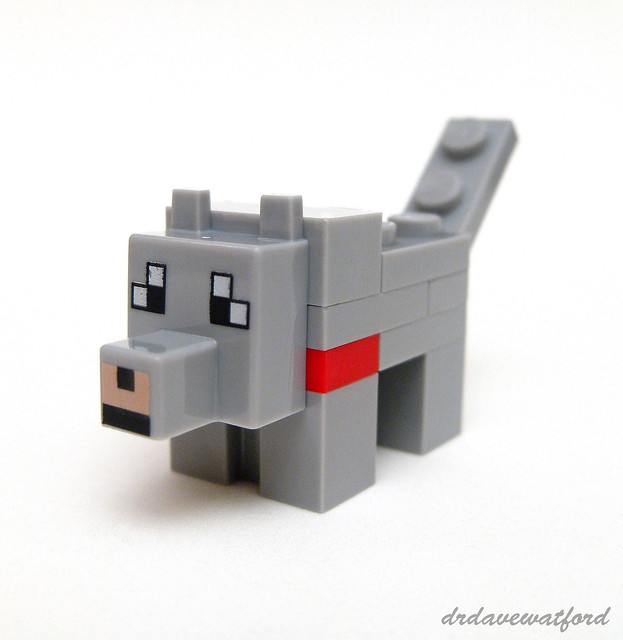
Last but definitely not least we come to the wolf, which is my own favourite minifigure in this set, if you can even call it a minifigure. The printed head appears to be a new element, while the legs are represented by a couple of light bley modified 1 x 2 bricks with groove which have previously only appeared in 5 sets. B reminded me that the red 1 x 2 plate immediately above the front legs is supposed to represent a collar and shows that the wolf has been tamed.
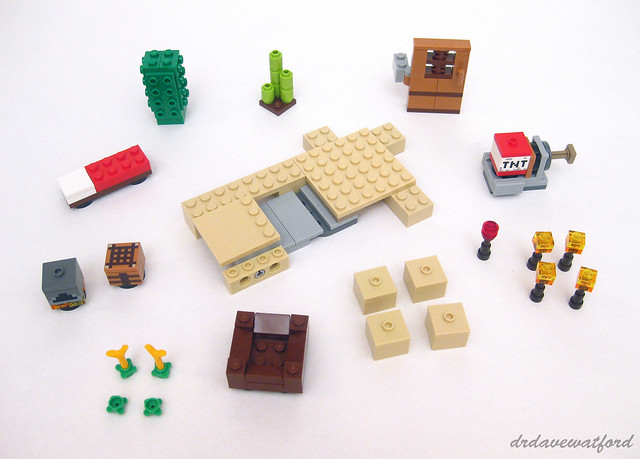
The first bag of elements contains all the parts needed to construct the minifigures plus a real mixed bag of accessories which you can see laid out in the picture below. First up are the crafting table and furnace, both structures that any self-respecting Minecraft fan will immediately recognise; if that's not you however then they're the cube-like structures on the left of the picture. These structures utilise a number of printed elements which were expressly produced for this purpose, specifically a medium dark flesh 1 x 2 brick with reddish brown and dark brown lines and 2 x 2 tile with dark brown Minecraft grid pattern, and a dark bley 2 x 2 brick with light bley and black Minecraft geometric pattern printed on the side. Each of these elements has previously appeared in a couple of the 2014 Minecraft sets. With the crafting table and furnace constructed, some torches of both the standard and Redstone variety, a small square wooden boat for Steve, some sugar cane fashioned from lime green 1 x 1 round bricks, some crops consisting of bright green round 1 x 1 plates with flower edges and bright light orange Carrot Tops, and a bed were next to be built. These were quickly followed by a cactus which makes effective use of green 1 x 2 - 2 x 2 brackets, a TNT launcher, a medium dark flesh and reddish brown door, and finally a small outside section featuring a simple mechanism for flipping sand blocks into the air. I could see B's attention beginning to wander as he reached the end of this laundry list of accessories and it was no surprise when he said he wanted to take a break. When I asked him what the problem was he said that it was a bit boring to build all the accessories at once and that he'd have rather built the Desert Outpost first and made the accessories as he went along.
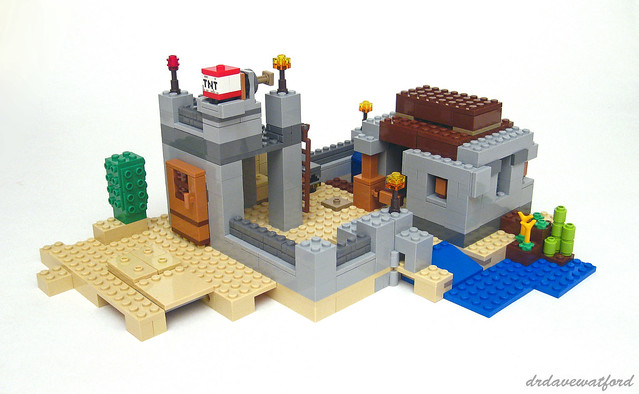
After a break Mini Me was ready to get stuck into the front section of the Desert Outpost; this requires the contents of Bag 2 plus a 16 x 16 tan plate from the unmarked bag. Bag 2 contains predominantly basic bricks and plates, which is not a surprise given the nature of the Minecraft sets but still relatively unusual in a licensed set. The 16 x 16 plate is the starting point, and a few basic bricks are attached to the underside to raise it up off the ground. Soon the walls of the outpost start to take shape. These utilise lots of light bley jumper plates which are used to offset sections of dark bley masonry bricks as you can see in the picture below. With the beginnings of the walls in place the previously-assembled crafting table and furnace are put in place and the door is attached. A rudimentary upper floor is then constructed, after which the section featuring the mechanism for flipping sand blocks into the air is attached adjacent to the door. Finally the cactus is put in place and and TNT launcher is placed on top of the upper level. When the launcher is activated the TNT block falls to the ground, at which point you can simulate an explosion by pressing down on the flipping mechanism and shooting the sand blocks into the air. It was no surprise that B was highly amused by this play feature, recruiting the set's minifigures to participate in a minigame which consisted of them taking turns launching the TNT block from the upper level of the Desert Outpost and sending sand blocks cascading into the air.

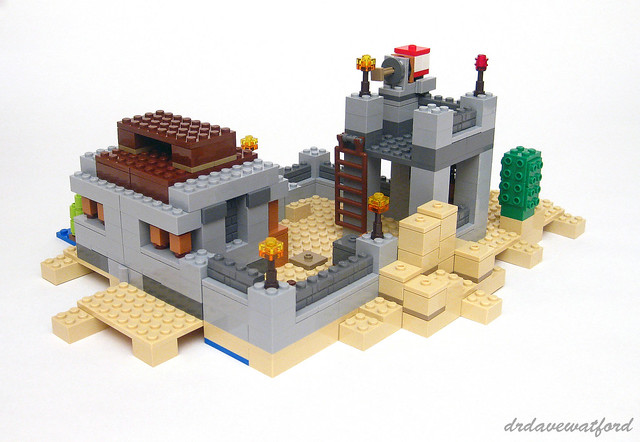
Once B had finally tired of his sand block flipping minigame he got back to the job in hand and started on the rear section of the Desert Outpost. Once again the floor, which is constructed from the remainder of the tan plates in the un-numbered bag, is raised up off the ground via the attachment of a few strategically-placed basic bricks underneath; the floor of the rear section actually consists of two distinct sections joined by hinges for reasons that will soon become clear. The walls of the rear section are made up of a number of detachable brick-built wall panels. These panels sit on light bley modified 2 x 2 tiles with one stud at the centre which hold the wall panels in position while still making it easy for them to be detached and swapped around if desired. At various points some of the accessories constructed during the first stage of the build, namely the bed, sugar cane and other crops, are put into place. Once the rear section of the Desert Outpost is completed, it's attached to the front section using hinges. Three reddish brown roof sections are then attached, torches are placed in strategic locations, and the build is complete.
Access to the upper level is provided by a ladder which you can see in the rear view below.
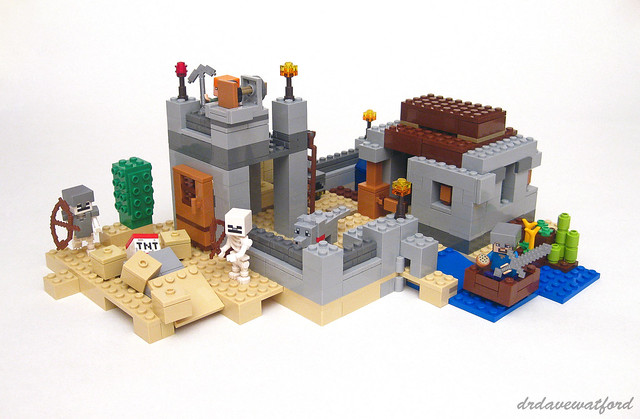
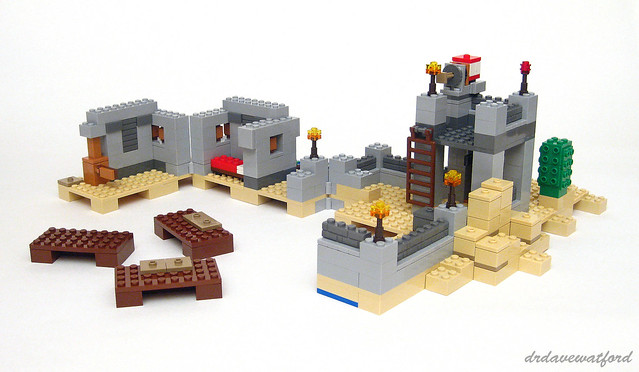
The completed build populated by its complement of minifigures can be seen below. Note Steve in his wooden boat on the right of the picture, and the mechanism for flipping sand blocks on the left. While B was pleased with the finished build, I have to say that my immediate reaction was that the outpost seems insubstantial, with the walls reaching no higher than two blocks in some areas. Even so, it does undoubtedly capture the Minecraft vibe in terms of the construction style, some instantly recognisable accessories, and of the course the minifigures.
Some of the floor sections are connected to each other via the use of hinges, meaning that the build can be unfolded (picture below) in order to provide access to the interior. In order for the model to be fully opened out the reddish brown roof sections need to be detached from the rear section of the outpost.
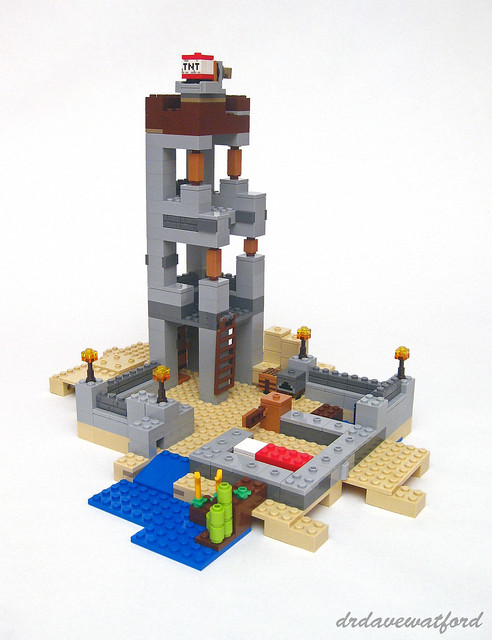
As previously mentioned, there are 16 pages of supplementary building instructions at the back of the instruction booklet. Entitled "Rebuild Inspiration" and bearing the words "Build your own creations" these pages walk the builder through a partial disassembly of the primary model and a reworking into an alternative build (picture below). This basically involves removing the detachable wall panels from the rear section of the outpost, completely dissassembling them and then using almost all of the newly-liberated pieces to build a tower. In truth the alternative build looks unfinished and pretty uninspiring, although I guess that the intent is merely to get the creative juices flowing and hopefully encourage the builder to finish the job with additional pieces from elsewhere.
Although the set carries an age recommendation of 8+ it's not a particularly challenging build - B is younger than the recommended age, but having had some previous experience building LEGO sets he managed to complete it without too much difficulty. The highlight of the set from his perspective was the minifigures, with Alex and the wolf being his two favourites. The play features, particularly the TNT launcher and the mechanism for flipping sand blocks, also got a big thumbs up. He concluded proceedings by providing me with an overall set rating of 9.3 out of 10 "because the set has lots of cool features" after which he made it clear that he was done talking and wanted to be left in peace to play with Alex and the other minifigs. So clearly a satisfied customer, then.... From an AFOL perspective, however, I have to say that even though I've grown to appreciate the joys of Minecraft to some extent the set didn't particularly grab me. I agree with B that the minifigures are neat, particularly the wolf, but the build itself feels insubstantial, and it's hard to believe that the set contains 519 elements. That having been said, I had the same lukewarm reaction to most of the other Minecraft minifigure sets as well so if you liked them then you'll probably like this one too. You might not like the price, though - while I've not seen an official RRP yet, the set is already listed for pre-order on a couple of UK sites at a price of £59.99 which seems a bit pricey.
Thanks again to Kim from LEGO's CEE team for providing Gimme LEGO with a copy of the set to review ahead of its general release.