One niche that I haven't previously dipped my toe into, however, is Great Ball Contraptions, or GBCs. GBCs are machines built from LEGO and usually powered by LEGO motors which transport small balls from one place to another. Multiple GBCs are typically chained together, with balls being passed from one GBC module to another, sometimes over considerable distances. In order to facilitate collaboration between GBC builders so that their modules are compatible with each other, a GBC standard has been defined. This standard legislates for various factors such as the size and location of a module's 'in-basket' and the rate of ball flow into the machine, amongst others.

Thankfully the community came to my rescue in the form of a posting by Brickset Forum member greatballpit who linked to this video that he'd posted on YouTube. The video showcases a fully functional GBC module that can be constructed in its entirety using the elements contained in just one recent Technic set, 42049 Mine Loader. I initially assumed that I'd need to reverse-engineer the build by studying the video clip, but it later transpired that instructions are available to download for €9.95 so I decided to take the plunge, pay the money and make my life a whole lot easier. In addition to getting me started in the world of GBCs, the project would also give me the perfect excuse to review the mine loader set, an official LEGO offering that I hadn't previously paid much attention to.

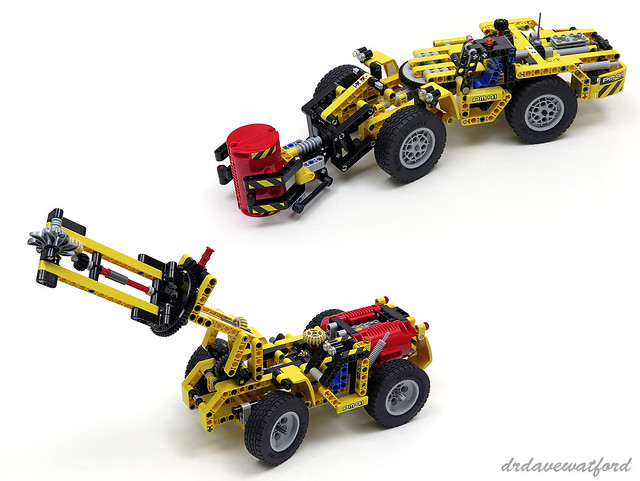
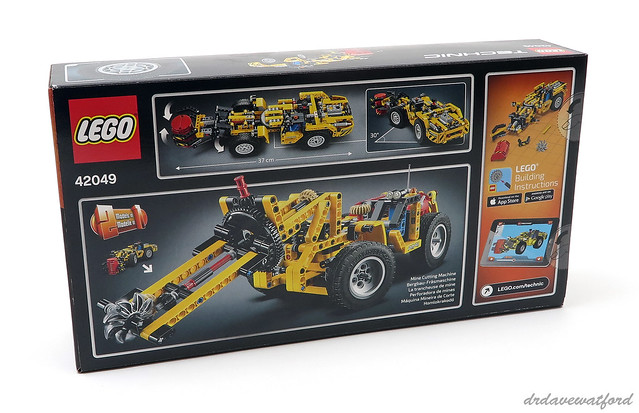
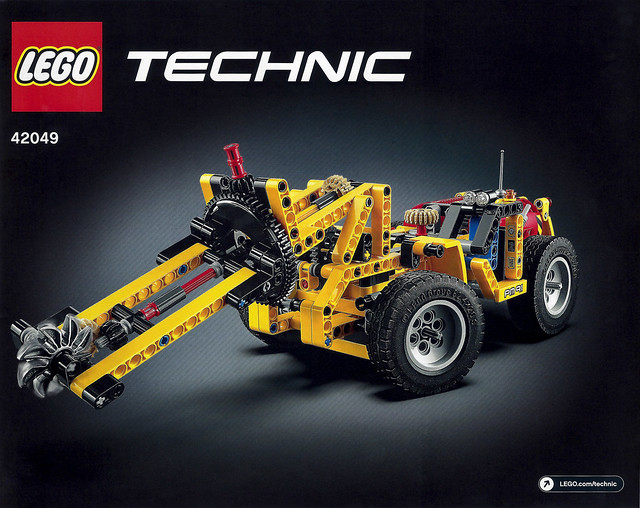
The front of the box (above) showcases the finished mine loader model which is a decidedly odd-looking vehicle - I did a quick internet search and couldn't actually find its exact real-world equivalent, although Caterpillar do manufacture a variety of underground mine loaders which appear broadly similar apart from the attachment at the front. Technic sets characteristically feature an alternate build which can be constructed with the elements contained within the set. In the case of 42049 the 'B' model is a rock cutting vehicle and this is shown on the back of the box (below).
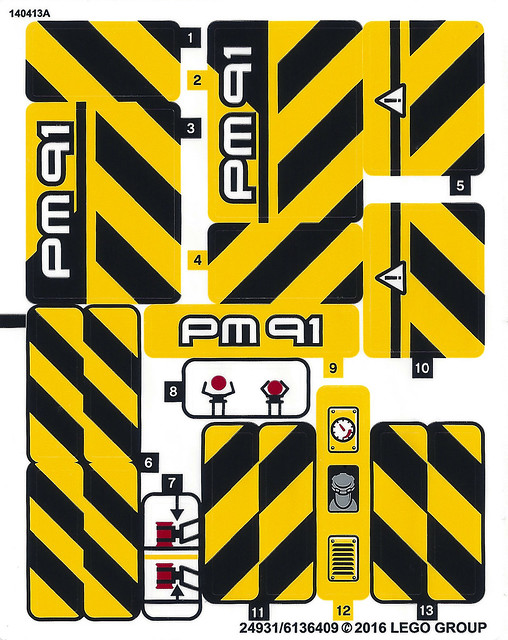
The box opens via a couple thumb tabs on the left side, although as usual I ignored these and instead carefully slid a knife under the seams and opened the left side, thus minimising damage to the box. The box contains four unnumbered bags of elements, three instruction booklets and a sticker sheet (below). There are also four huge rubber tyres loose in the box.
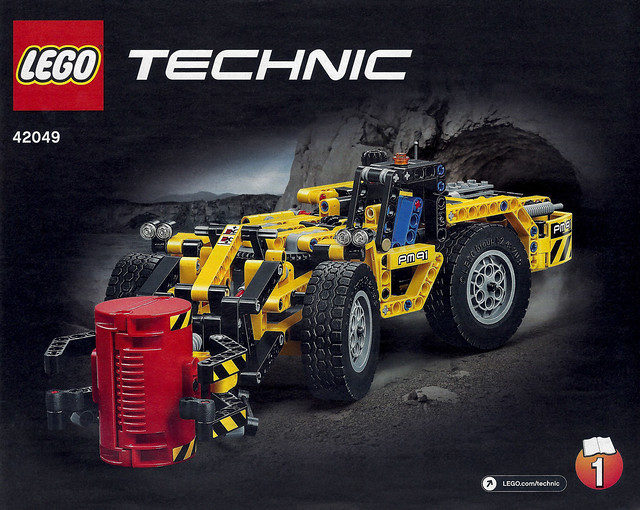
The mine loader is the larger of the two builds and has two instruction booklets as against one for the rock cutter. Both mine loader booklets have front covers which are identical apart from the booklet number in the bottom right corner.
I seldom build Technic. It's therefore not surprising that when I do I should encounter elements that I haven't seen before. This time it was red 6L and yellow 7L axles that caught my eye, although it turns out that these have been around for years and have appeared in multiple sets. Genuinely uncommon elements appearing in the set include a yellow Technic 3 x 3 T-shaped thick liftarm which is only appearing in a set for the tenth time in this colour, and a light bluish grey large Technic turntable base plus its black large Technic turntable top counterpart, both of which have only appeared in a total of 10 sets to date.
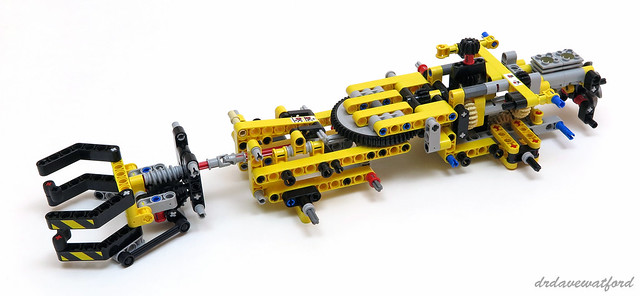
In terms of notable features, the build incorporates a 2-cylinder engine; it's actually not the first time that I've built a LEGO Technic engine but I still find it impressive the way that the LEGO crankshaft smoothly drives the pistons in the engine block. The crankshaft also attaches to a flat silver 8 blade propeller which represents a cooling fan and which has only previously appeared in seven sets in this colour. By the end of the first instruction booklet we're well beyond the halfway point in the build (below).
With the bulk of the internal structure and Technic mechanisms already completed, much of the remaining build consists of predominantly cosmetic details. The mudguards behind the front wheels consist of yellow Technic curved 3 x 6 x 3 panels which are only appearing in a set for the third time. These are decorated with black and yellow striped warning stickers and provide the attachment point for bilateral twin headlights. The driver's cab bolts on to the left side of the vehicle and includes a single seat which is made up of a couple of blue 2 x 4 L-shaped thick Technic liftarms. A single exhaust represented by a light bluish grey vehicle exhaust pipe with Technic pin emerges from the left side of the engine, and a couple more of the yellow Technic curved 3 x 6 x 3 panels are used to create the corners of the rear bumper which also incorporates a pair of trans-red tail lights.
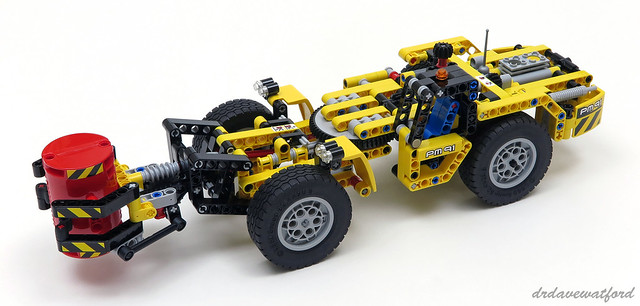
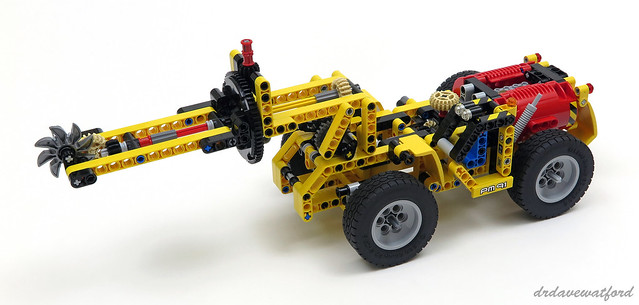
The build is nearly complete now. An aerial, represented by a flat silver rapier, attaches just in front of the engine, after which the four wheels with their huge 62.4mm tyres are attached. Finally a red drum, made up of a pair of stickered interlocking red 3 x 5 x 8 cylinder halves which are exclusive to the set in this colour, is assembled and we're finished (below).
I asked my ten year old what he thought of the finished build and I have to report that he wasn't particularly impressed with the look of it; I'd have to agree that it's rather underwhelming from an aesthetic point of view. The build does however incorporate a number of functions, and all of the mechanisms work well.
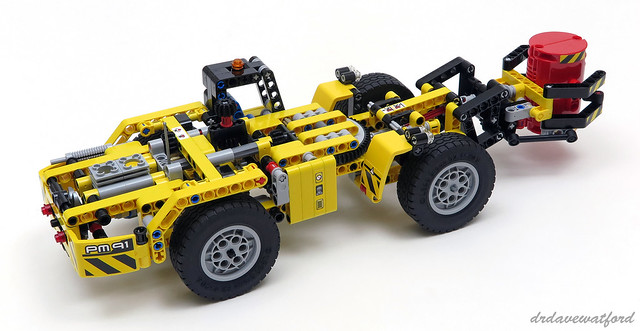
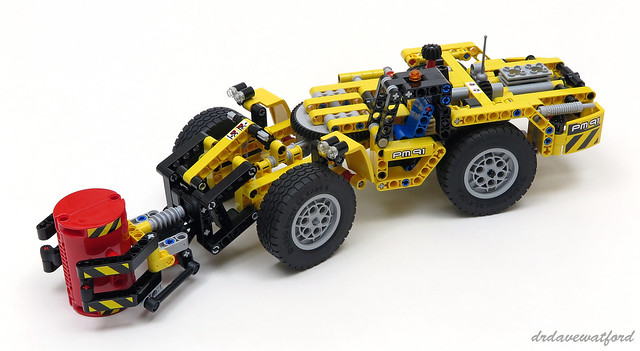
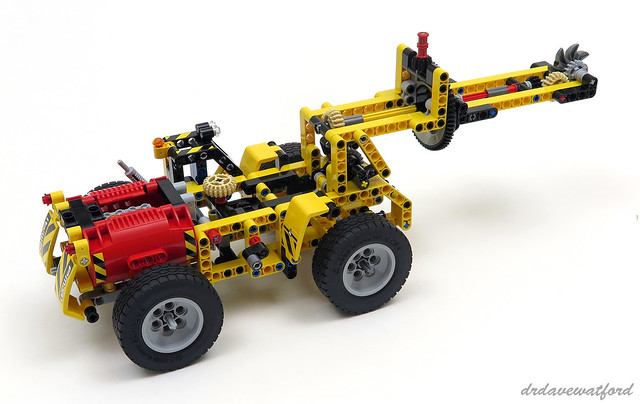
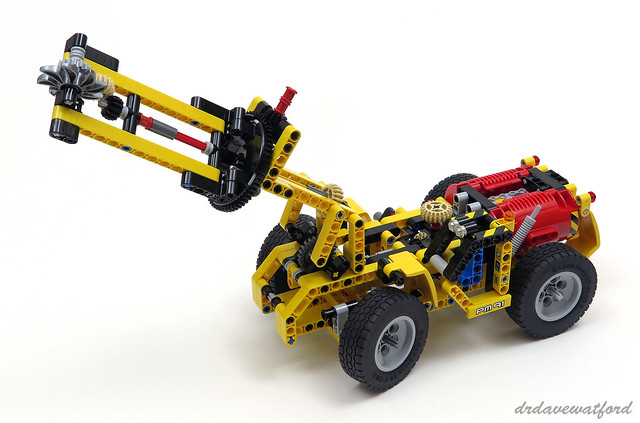
The large Technic turntable I mentioned earlier connects the front and rear sections of the vehicle. Turning the small black gear next to the cab rotates the turntable; this pivots the entire front section and thus steers the vehicle as you can see in the picture below. Meanwhile, pushing the vehicle forwards or backwards causes the pistons in the engine block to smoothly rise and fall, and the cooling fan at the back to rotate. At the front of the vehicle the claw can be raised and lowered; it's in the fully raised position in the picture above, and the lowered position below. The claw can also be closed and opened so as to grab and subsequently drop the red drum; this is accomplished by rotating another small black gear which is located just in front of the engine. The gear connects to the claw via a long axle assembly running almost the whole length of the vehicle.
With the mine loader completed and photographed it was time to take it apart in preparation for building the 'B' model. One of the reasons that I've struggled to love Technic over the years is the misery of deconstructing the builds, which is both time consuming and a cause of physical discomfort. Thankfully the mine loader is modestly sized so taking it apart didn't take too long, although as ever it was not a comfortable experience for my fingers.
The 'B' model, a rock cutter, is another curious-looking vehicle and a quick online search didn't reveal any real-world examples of machines that looked remotely similar. Like the mine loader it incorporates a 2-cylinder engine, with the pair of red cylinder halves which were previously used to fashion the drum being repurposed as engine covers that wrap around either side of the engine block. The turntable assembly, previously utilised as a steering mechanism for the mine loader, is incorporated into the boom of the rock cutter.
Attaching the boom doubles the length of the vehicle and makes it predictably unwieldy. Despite this, the weight of the body ensures that the centre of gravity is far enough back for the vehicle to be nice and stable, although like the mine loader it's a decidedly strange-looking beast. Following completion of the rock cutter there are 57 elements left over, of which 11 are spares. The rock cutter therefore utilises more than 90% of the set's total of 476 elements.
Function-wise I found the rock cutter to be more interesting than the mine loader. The vehicle can be steered by rotating the prominent tan gear in front of the engine which turns the front wheels, and similar to the mine loader the pistons in the engine block smoothly rise and fall when the rear wheels rotate. The boom can be raised and lowered by turning a crank on the right side of the vehicle, and unlike the claw at the front of the mine loader it has a substantial range of vertical movement. As you can see in the picture below the orientation of the blade can be changed; a pair of red bushes are attached to an axle just above the turntable, and turning these bushes rotates the turntable which changes the angle of the front section of the boom and hence the blade. Finally, you can spin the blade itself by rotating the tan gear at the base of the boom.
So that's both the 'A' and 'B' models built, then. Overall, while neither of these strange-looking vehicles will ever win a beauty contest, they were both enjoyable to assemble. Furthermore, they both manage to cram in a fair number of functions, all of which operate smoothly and reliably.
42049 Mine Loader was released in 2016 at a price of £29.99 / US$49.99 / 39.99€. You may struggle to find this set at retail now, but at time of writing new sealed examples can still be acquired at or below the RRP over at Bricklink which is where I bought my copy from.