
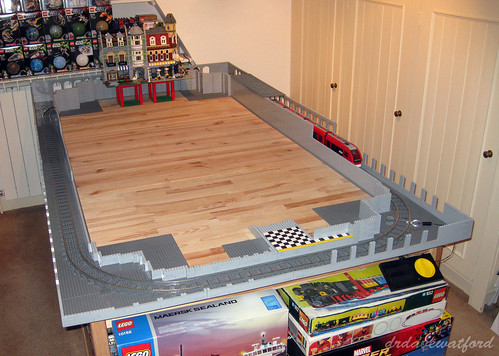
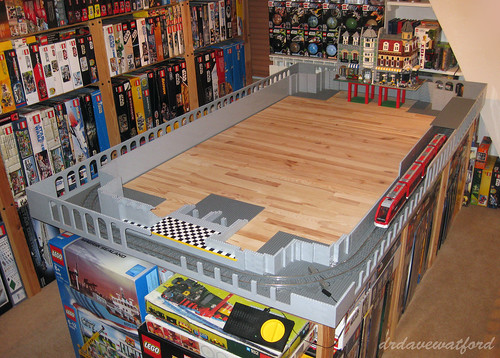
The obvious place for me to focus my renewed construction efforts was the front left corner of the layout which was looking decidedly bare, consisting as it did of just a bunch of dark bley baseplates held together by a few lengths of 9V track and a sprinkling of 1 x 2 and 2 x 2 dark bley tiles. As you can see in the pictures above and below (click to enlarge) I started out by finally completing the job of boxing in the track loop with light bley bricks to a height of 3 bricks. While this might not seem like a significant milestone, given my pitifully slow rate of progress to date - almost four and a half years to get to this point - it's still probably worth celebrating....
That minor milestone having been achieved, I continued to lay down successive layers of light bley brick, increasing the height of the inner and outer walls on the left side and front left corner of the layout to 7 bricks. It was a repetitive task but therapeutic nonetheless; people talk about being 'in the zone', and so far as building with LEGO is concerned I reckon that simple building tasks like this are about as 'in the zone' as it gets - you rapidly slip into autopilot and it feels almost hypnotic at times. Certainly the time seemed to pass very quickly.
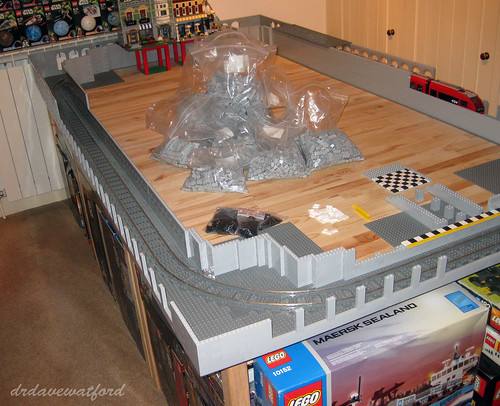
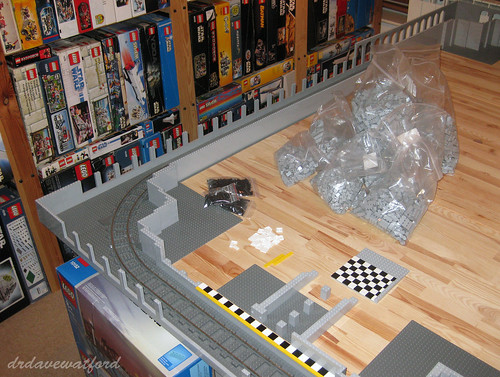
The volume of brick needed to build on such a scale is considerable and easily underestimated, but having initially sketched out the design on LDD I already knew what would be required and had long since sourced the necessary elements - you can see some of them bagged up and ready to be pressed into use in the pictures above and below (click to enlarge).
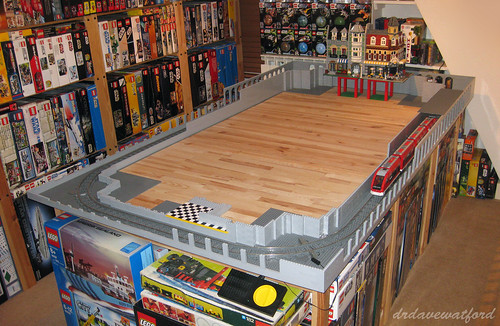
Encouraged by my progress I pressed on and eventually got as far as raising the whole left side of the subterranean level of the layout up to full height (below - click to enlarge) before calling it a day. All that's left to do now is finish up the right side and then cover the lower track loop with a roof and the visible sections of the subterranean level will be complete. That'll be another milestone worth celebrating as at that point I'll finally be able to start work on the upper level where most of the action will be.

I've also now finished up the left side of the underground platform, thus completing the platform section adjacent to the tracks. I'm clearly not going to be able to fit many minifigures on it, but that having been said, there's probably about as much space on there as on some London Underground platforms so maybe it's more realistic than I'd anticipated....
One thing I've tried to remain mindful of is the question of portability. Sure, a 288 x 160 stud LEGO layout built on two levels is never really going to be truly portable, but I'm nevertheless taking the view that there's no point in just building something which will forever reside in my study unseen by anybody but me and readers of Gimme LEGO.... It's always been my intention to build with a view to eventually displaying the finished layout at events, and so to this end I'm trying to address potential portability issues as they arise rather than trying to figure it all out at the end.

A good example of this is provided by the underground station platform above. I figured that this would need to detach from neighbouring sections in order that it could be safely transported. It soon became evident however that the way I'd designed it in LDD would necessitate me literally breaking it apart for transportation and then having to rebuild it at my destination. I therefore needed to devise a different way of joining the sections together which would enable the platform to detach in a non-destructive fashion and I arrived at the solution below (click to enlarge).

As you can see from the picture above, the main platform section is attached by way of Technic pins and detaches with a minimum of fuss. The arch overhanging the front of the platform is part of the inner wall enclosing the track and will eventually help to support the roof and the structures above. When the platform section is attached, the lower aspect of this arch rests on a 1 x 1 tile which is part of the outer wall of the detachable platform section; this will help to support the weight pressing down on the arch while still allowing the detachable platform section to be easily removed.

So now there's finally somewhere for the minifig residents of my City layout to catch the train; my minifig alter ego seems to have missed this one, but there'll be another along in a minute....
LEGO City Layout : next blog entry -- >