 |
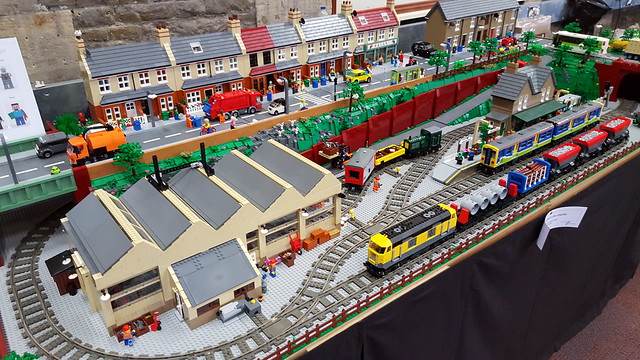
| Brickton by Huw Millington, Photograph by Jamie Douglas |
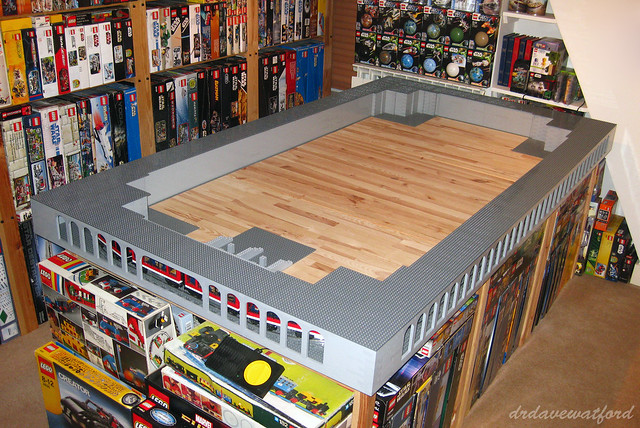
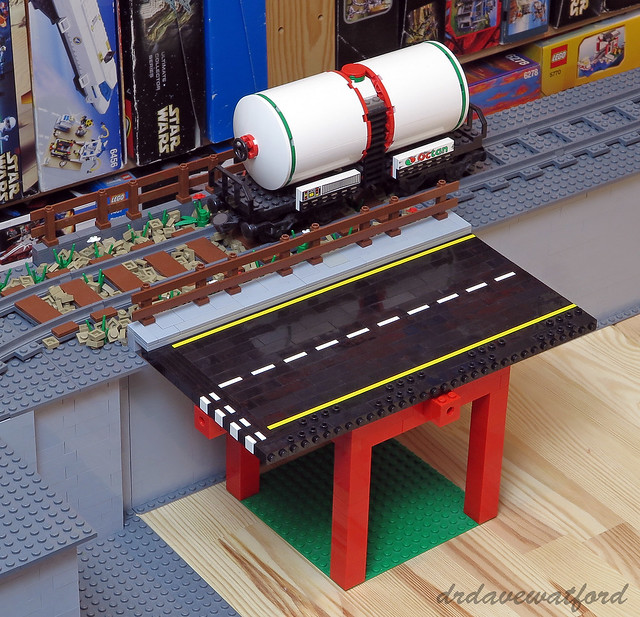
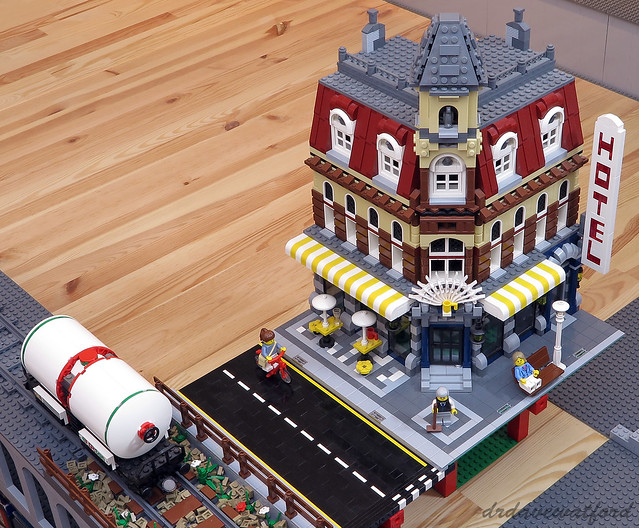
Last time I posted an update on my City Layout I'd just completed putting a roof over the subterranean track loop as you can see in the picture above. Since then I've started to think about how the next level of my city will fit together. The first thing I did was lay down a few track sections at what will be ground level. Dark bley track on a dark bley base looked predictably monotonous, so to address that I used some reddish brown tiles as sleepers and filled the space between and around the sleepers with ballast consisting of dark tan 1 x 1 plates as you can see in the picture below (click to enlarge). The sleepers are obviously too wide to be true to life, but I still think that the effect is quite pleasing. The ballast also looks okay I reckon, and the addition of a few plant stalks and the odd flower here and there helps to give the track a slightly more realistic feel, not to mention perfectly complementing the colour scheme of the tanker truck (Set 10016) that I've posed on the track.... Running some dark reddish brown fencing down the outside of the track helps to stop the ballast from falling off the sides of the layout, as well making things look nice and tidy.
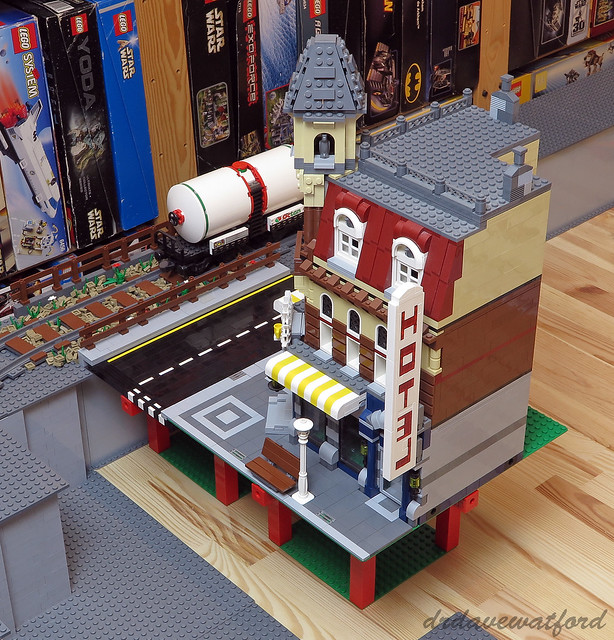
Having made a start on the ground level track loop, the next thing I wanted to do was to attach a section of road alongside the track. It's interesting that having recently experimented with a variety of techniques for constructing and integrating brick-built roads I've ended up going back to something not too dissimilar to what I worked out back in August 2011 when I first played around with with brick-built roads here. One of the things I needed to figure out was how best to neatly transition from track to road; I ended up building a three stud-wide pavement to separate them (picture below - click to enlarge) with more reddish brown fencing employed trackside to protect pedestrians. The road is supported underneath by a modular brick-built scaffold, and I envision that the whole ground level of the city inside the outer track loop will eventually be supported by similar scaffolds. The road itself is predominantly built from one stud-wide black bricks which are laid on their sides; by building the roads in this way I figure that I'll be able to create a studless road surface relatively inexpensively, and it also enables me to fashion suitably thin road markings out of yellow and white plates and tiles sandwiched between the black bricks. I spent a while debating what colour the roads should be before eventually deciding to build them in black rather than dark bley; while black is probably less realistic I do think that it'll provide a better contrast with the surrounding structures - my city already features more than enough bley and dark bley I reckon. The outer edges of the road section incorporate a number of modified 1 x 4 bricks with four studs on one side; the studs on the side of these bricks attach to the underside of the pavement, thus holding the road firmly in position.
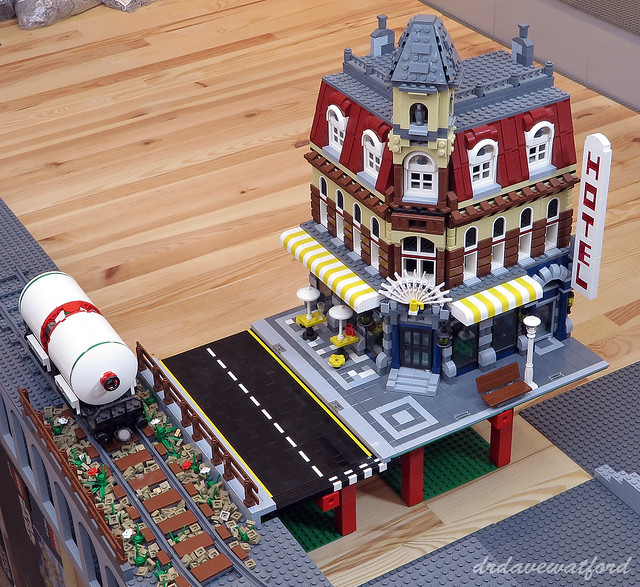
With a section of brick-built road in place the next task was to neatly transition from the road to a building, and for this I called upon my trusty Cafe Corner (below - click to enlarge). Modified 1 x 4 bricks with four studs on one side attached to the edge of the road section are again used to anchor the road to the underside of the pavement next to the building and hold everything nicely in position.
I'm planning on populating my city with a mixture of modular buildings, for example Cafe Corner and Green Grocer, and a selection of MOCs. Over time my intention is to gradually phase out the official sets and replace them with more of my own creations, but until that time comes LEGO's beautiful and iconic modulars will more than suffice I think.
And that's as far as I've got for now. Having started to figure out how the various components making up my city will fit together, the next step will be to get to work in earnest on the modular scaffold which will underpin all the ground level structures, although given that I've used up most of my supply of loose red bricks on the frame of my Manic Miner mosaic, it looks like I'm going to need to raid Bricklink once again to stock up. So raid Bricklink I shall - there's no time to waste as the countdown to STEAM 2016 has well and truly begun.....

